This set I bought for cheap in TK Maxx (TJ Maxx in other parts of the world). Well, I say “cheap”, still possibly slightly pricey, partly considering my set was missing the pliers, as I found out later. Thankfully, awhile before I got into building plastic models, so I had a full set of tools, and one set of those pliers fit perfectly into the hole in the packet – not that I used that pair much! I bought this a while ago, but built it not too long ago. Let’s see how it went!
First up, “Big Ben”:
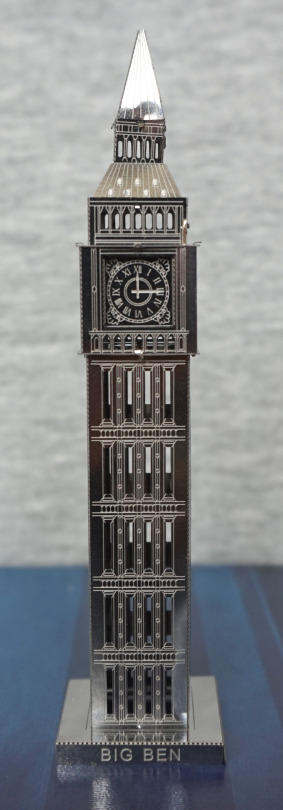
Looks like Elizabeth Tower to me :P. It’s the bell that’s officially Big Ben, but everyone knows the tower by that name, even if it’s not the tower’s name </trivia>. If you get this set, I’d recommend starting with this one – the build is relatively straightforward and short, compared to the others. Didn’t quite get the top bit straight.. oops.
It does look good though:
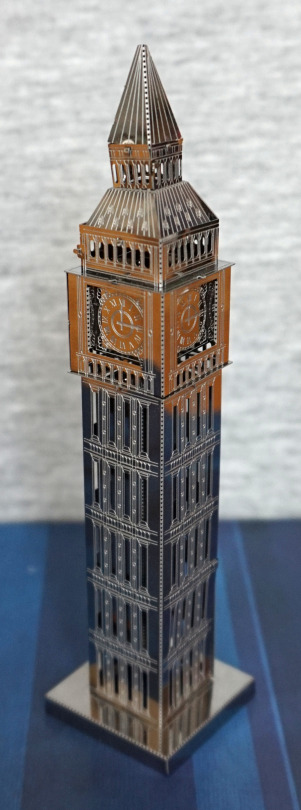
The etching is clean, and looks good. Building it involved some swearing.
Next up, Tower Bridge:
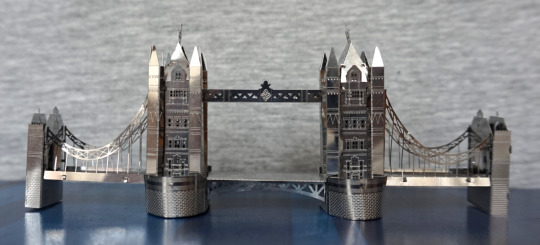
This one involved a lot more swearing. The end result is… a bit wonky. But is a fair representation. One of the pieces broke whilst I was constructing it – one of the flat edges of the middle stands, but fortunately this does not show, as it’s held up by hooks and the rounded parts. Oh, the rounded parts. Getting them curved just so and then getting the flaps in is not for the faint of heart. I’d recommend grabbing both pins with a pair of straight pliers, and bending them together, and get the angle right as you can. Also work left to right – tried the middle pin first on one, didn’t work out quite as well. Getting the corner towers on the middle towers was a pain in the ass too – you have to bend them into shape, then poke the pegs through into the central tower, then get some pliers/stiff metal down into the larger tower, then bend the pins enough so they don’t ping out (here’s where curvy pliers came in really handy). Once done though, they’ll stay on there well. One note to make – when folding them into tower shape, bend half of a side with pliers, but not to the full 90 degrees. When you bend the other side, the side you just did will bend in slightly if you have no rig to hold it (I don’t), and when you finish, it’ll be the right shape.
Top:

The bridges are a pain, and will likely crinkle. Given the effort, I’m happy they’re as straight as they are, lol.
End:
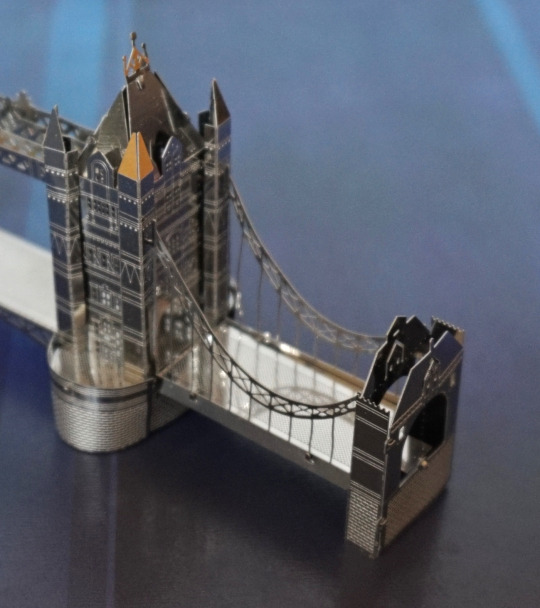
I like this – it looks good. Might not got the tops of the towers completely neat. These end bits on the bridge were far easier than the rest of it, but still a bi fiddly. Again, having curvy pliers as well as straight ones likely helped.
Bottom:

Not too much to see here. One of the straight parts that the curved parts are attached to is the part the broke – the straight parts are attached to the base piece with the four “dots” in. These are tabs from the tower part on top. Probably fairly obvious from the uneven shapes how much of a ballache it was getting the curved bits right.
Overall I’m pleased with the end result:
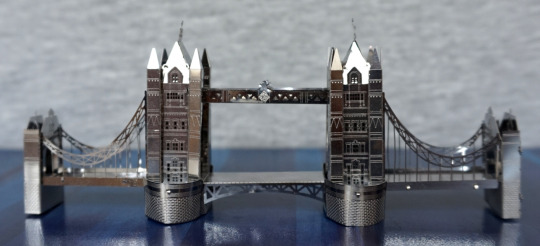
Hm, I called this one back, and the other one front, but I think this side might be neater. The flat metal bits bend out of shape easily, and here we see I didn’t get the pliers and correct the spires. The side triangles I used tweezers on a couple to help me get them in place. These slotted into place a lot easier than expected.
Now for the shard:
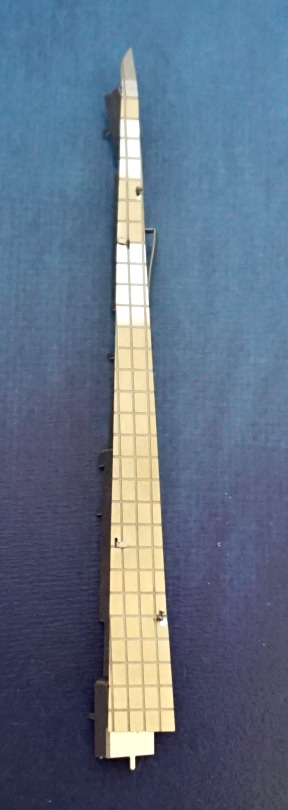
Ha. Started with this one. Really shouldn’t have. Assembling the first three pieces was a MASSIVE pain – you have to bend them into precise shapes, then try to get the tabs bent enough to hold the damn things in. Then came the fourth piece… which wouldn’t fit in! The instructions for this one are terrible and not very well drawn, so it’s hard to even work out what tab goes in which hole. And pinching the outer tabs is really hard, due to the way the pieces go together (or not).
Here’s the back of the above construction, to show there are parts attached:

Look at this mess. Like fuuuu…. Fourth piece didn’t want to align fully with the tabs present, so no idea if I messed something up or not.
Just to show the insanity of the instructions:
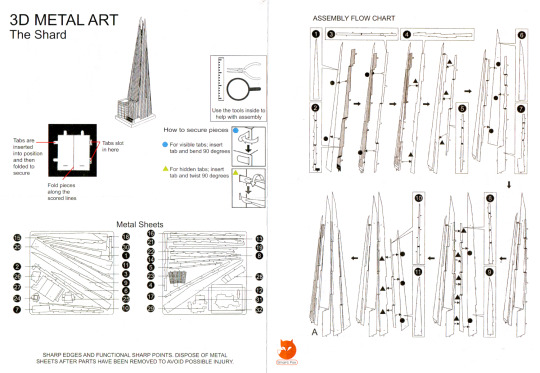
Just. Look. At. It. This method works passably well for the other two, but here, it’s not even clear what exactly pegs into what. Would have been nice if they separated up the bending instructions from the pegging instructions, or etched markers on the model to show what goes in where, as it’s so hard to draw in 2D.
So if you want an exercise in frustration, buy this set. Then throw away The Shard, and build the other two. Oh, and said “tools included”. No idea what they intended you to use the ruler for, the magnifying glass is crap and the pliers it should have come with I don’t think I used. Did use a couple of different pliers though. Would I do one of these metal kits again? Probably not.
