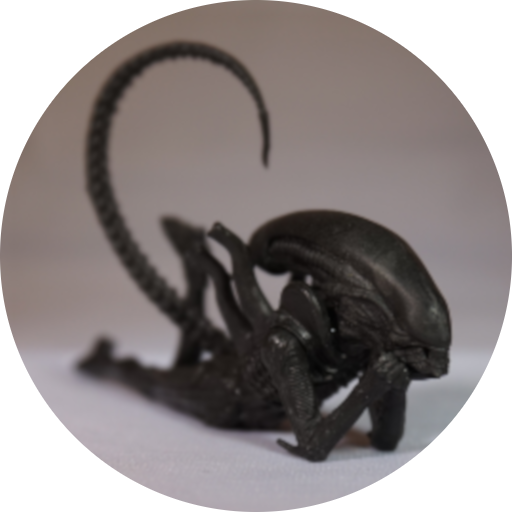
Now for a model kit! This is the Desura II Core Ship, with a couple of support fighters.
Let’s first look at the core ship itself:
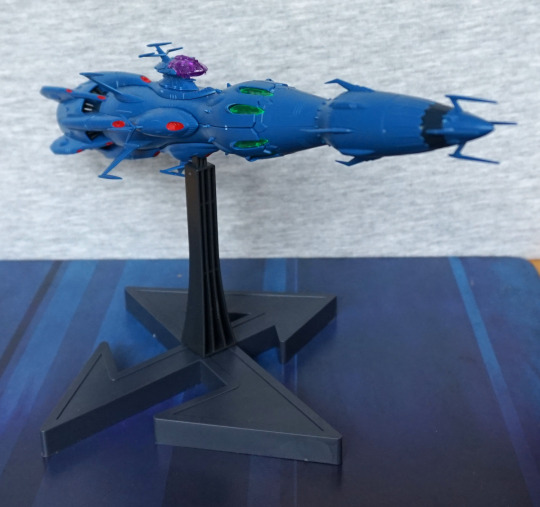
‘tis a long bugger. And spiky! If you hit it, don’t be surprised if you go “ow” and a part flies off. However, I do think it looks cool and worth the pain :P.
Building it wasn’t too difficult – the instructions were reasonably easy to follow, and the build process, from what I recall, was pretty smooth.
Left:
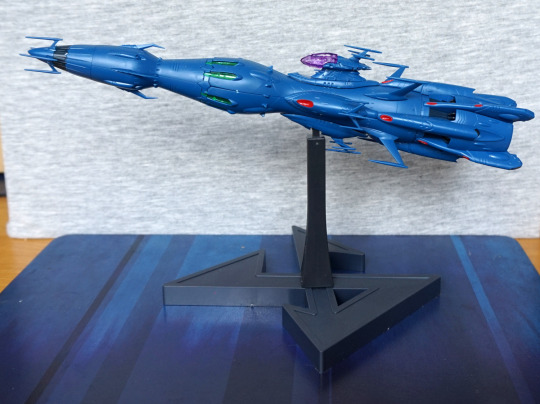
Here’s a side shot to admire it in all its glory. I love the profile of this ship, which is why I bought it… despite having not yet seen Battleship Yamato. It is on my “to watch” list, though.
Now to deviate from my standard walk-around, and look at this thing from bow to stern.
So let’s start with the front end:
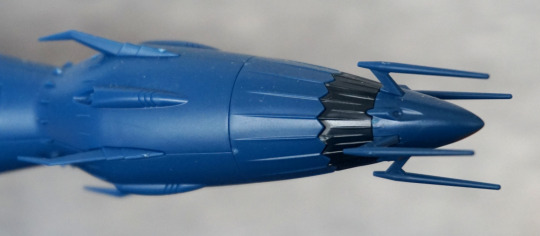
Here we have the stabby forward parts. The sculpting is nice on this model, adding details into what’s a largely plain-coloured vessel.
Moving further back:
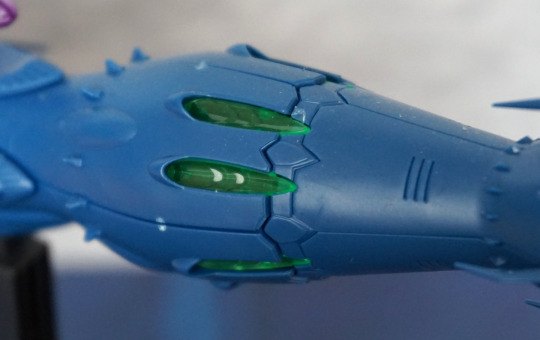
We have some clear parts here, which look nice. There are some transfers that you can add to these bits, to add a bit more detail, but I haven’t done so as of yet. I do like this bit of colour – looking at pictures of the ship from the anime, these parts glow. I could see someone modding this kit, so they could put an LED in this section, though I do believe these parts do back onto blue plastic, so it’d be a relatively hefty mod.
Cockpit area:
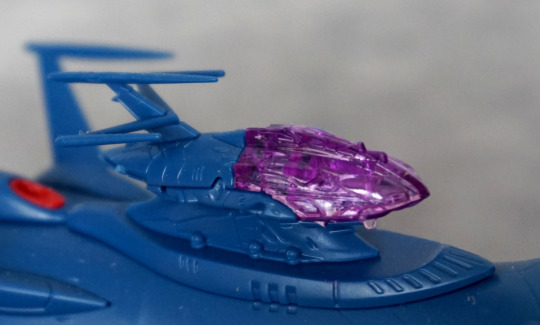
One thing that mildly disappointed me is this purple plastic bit doesn’t push up into a blue plastic “cutout” part, so if you want it to look like the pictures, you need to paint this part. Kind of a shame, as I don’t think it’d be too hard to render a part this could push up into. But if you’re not going for anime-accuracy, you could leave it like this.
Part below the cockpit:
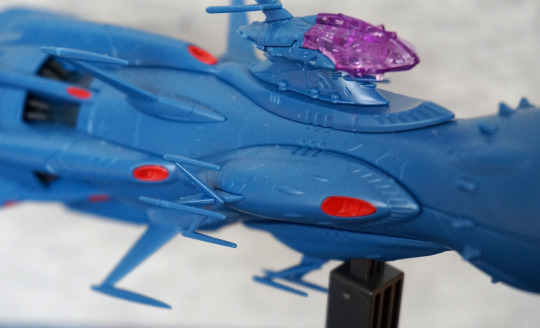
And these are the spiky bits that tend to spike you and fall apart. The vertical “M” part slots into the one that attaches to the ship, so it’s pretty easy to accidentally knock out. Have had issues with these when positioning the ship on the stand. I do like the red detail parts though.
Engine fins:
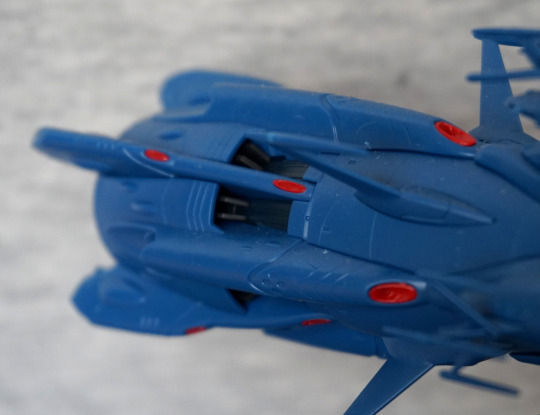
I do rather like this detail, and it has been rendered well.
Back:
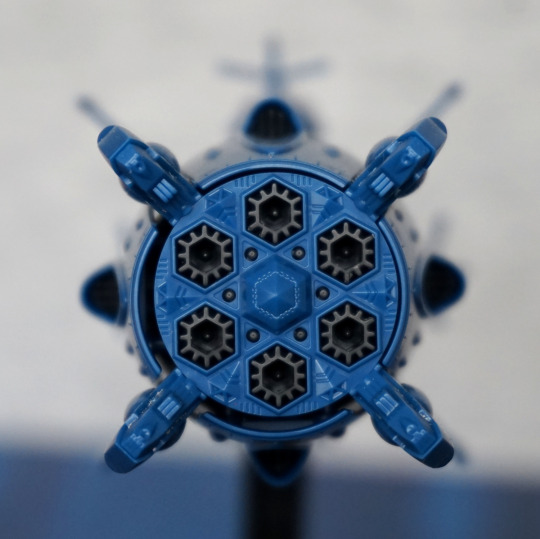
The thrusters look cool, and and I love all the little details back here. What’s less cool is two of the four fins you see here didn’t fit snugly into their slots and kept falling out. Ended up shoving a bit of White Tack onto the part that goes inside the fin, and that fixed that issue. So I’d recommend doing something similar, or glue these parts. I think the inner ring is supposed to help hold these parts in but… it doesn’t.
Base:
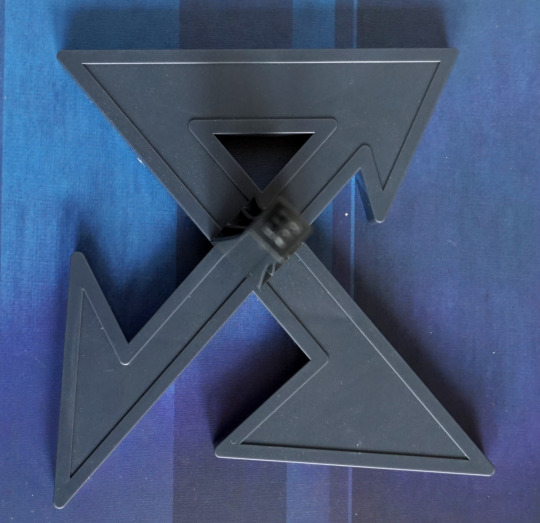
This is the logo for the “owners” (Great Garmillas Empire) of the Desura II… only apparently this isn’t the right way up for it. Ah well, I tried. Stand does a decent job of holding the vessel, but one of the prongs can foul on the base, so you can’t freely tilt it, but you do have a reasonable choice of angles for the ship.
And that concludes the main ship – I think it’s a cool model, and glad I bought it. Could do with some spots of paint, if I ever get around to painting anything.
Now for the support fighters:
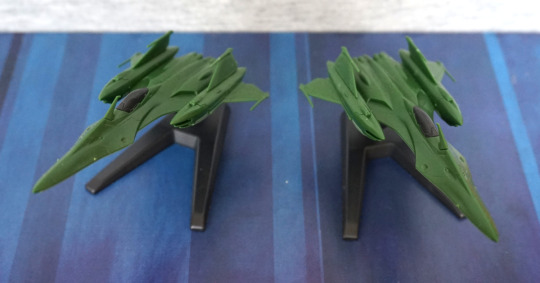
You get two of these, both identical. There aren’t too many pieces making these up, so they should be a quick build.
Quick tour of one of the fighters, as this blog is long enough already:
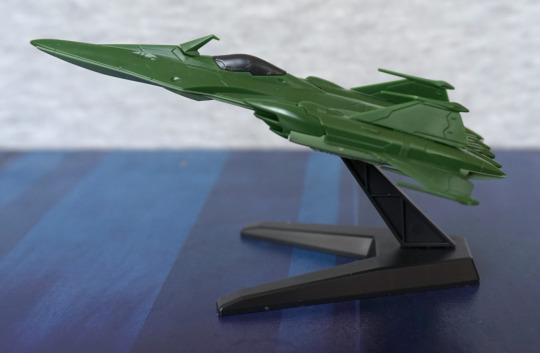
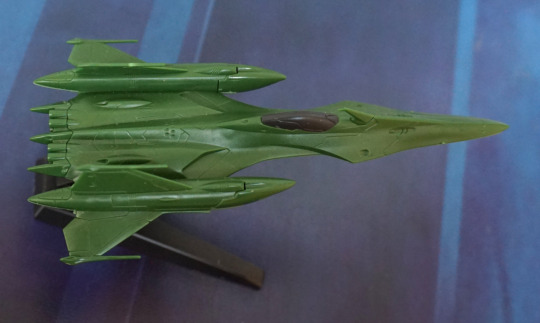
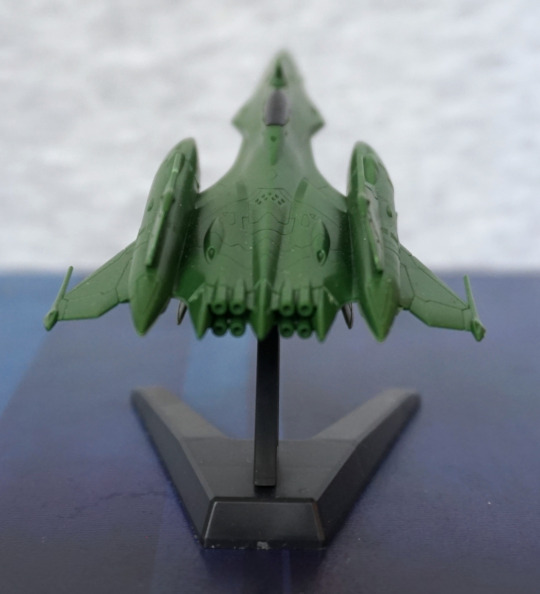
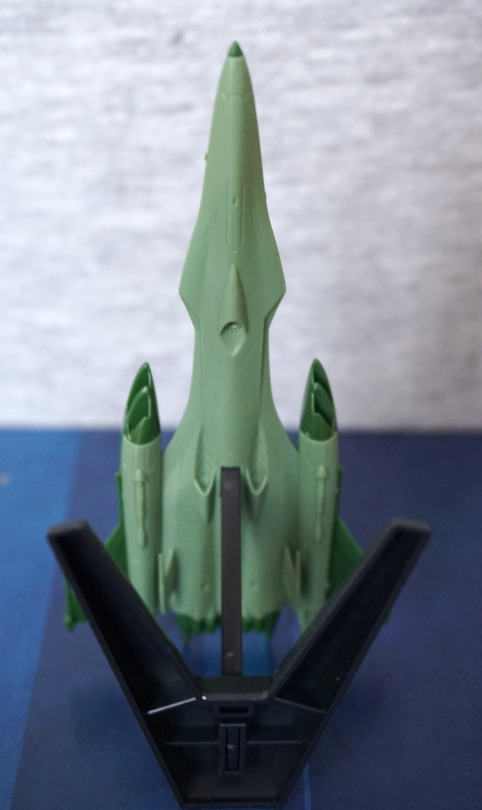
The mould has a decent number of details, so looks pretty decent unpainted. There are some decals that I haven’t put on yet, with the logo fro the Great Garmillas Empire. I think these are a nice inclusion to the kit, and look nice displayed flanking the core ship. One less-good part of the model is the spikes on the fins are easily bent, and this can happen when snipping them away from the sprue. Note one of them is a bit bent in the top pic.
Some of the bottom of the ship is in the dark green – this would be something ideally fixed with some light green paint, so it looks less odd. Depends if you display these with the bottoms showing or not.
Overall, I’m happy with this model kit, and I should really do some painting, so I can paint the odd bit on this one, as I think it kind of needs it. However, the moulding is nice on this kit, so you could get away with not painting it imo.
